Contributing code through the browser (easy)
radioscripts_contrib is a collection of user-created radio astronomy python scripts. This code is offered with minimal vetting process and without any guarantee of reliability or accuracy. We encourage interested visitors to contribute by adding their own useful python routines. The radioscripts_contrib collection operates out of a GitHub repository. Below is a tutorial of a very simple browser based method to contribute your own code to the repository. If you are interested in a slightly more advanced, command-line based method, which will generally be more convenient for contributing multiple files and editing as you test them on your own system, you may want to check out the other tutorial on contributing code via command line
Get a GitHub account
If you don’t already have a GitHub account, the first step is to go to https://github.com and set one up. GitHub also describes how to install a command line interface on your machine to interact with the online repository, but for our purposes you don’t need to worry about this. All you need is the GitHub account and a web browser.
Create your own personal “fork” and add a file to it.
Within radioscripts_contrib scripts are organized into subfolders by topic. If there is a subfolder that describes the topic your script fits into, navigate to that location (for instance, if you wrote a routine to fit spectral lines, this might belong under the spectralline path.) If no folder adequately describes the topic of your script, just use the main radioscripts_contrib directory. From the appropriate directory screen on GitHub, click on the icon of a document containing a plus sign.

This simultaneously creates a “fork” (a remote copy) and brings you to an editor where you can type your code (or paste it from a file you already have) and name the file.
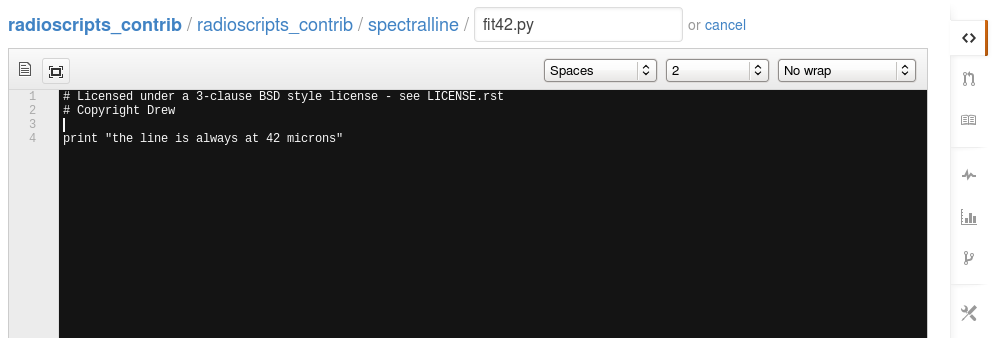
We request that contributed code be prefaced with a two line license statement at the top:
# Licensed under a 3-clause BSD style license - see LICENSE.rst
# Copyright [authorname]
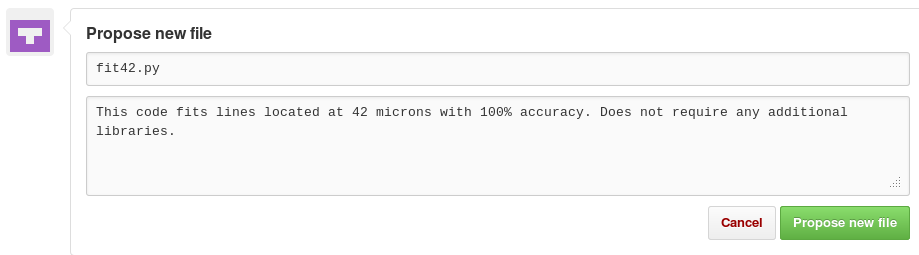
Further down the page you can describe your file or put any extra comments that aren’t part of the code and then click “propose new file”
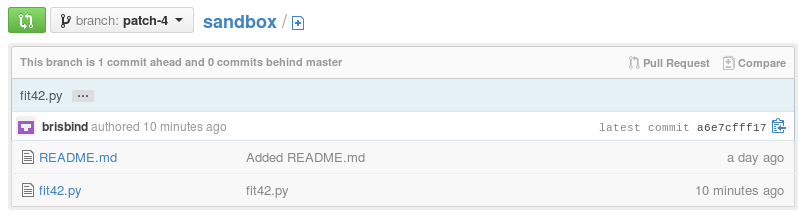
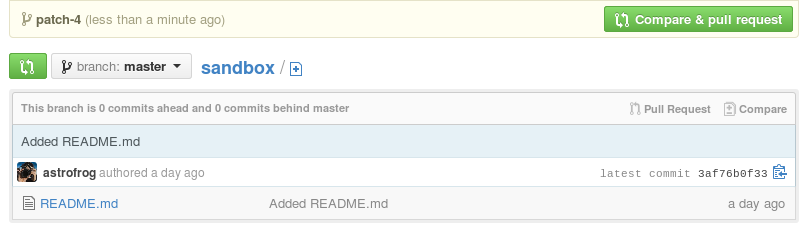
GitHub should now tell you the name of the fork where your file has been placed. In this case it’s patch-4.

Before trying to merge your code (which currently exists in your own fork) in with the main repository, take a moment to update the README in the folder where your code is to give a one or two line description of your new code. Near the top of the current page click the name of the repository where you just put your code. In this example I’m working in a repository named “sandbox” but in your case it will probably be radioscripts_contrib or one of its subfolders.

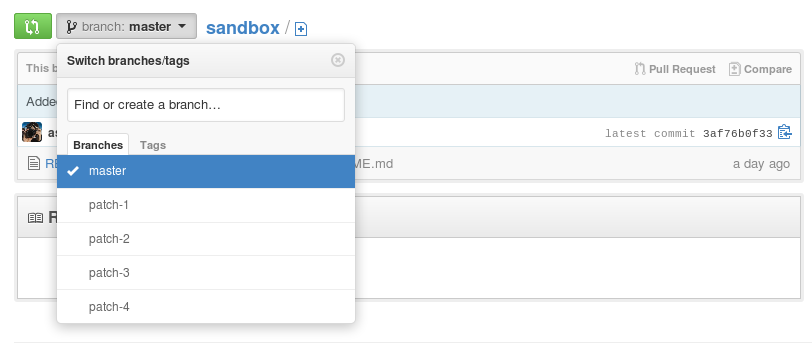
This brings you to a page showing the contents of this repository. Click the button that says “branch:master” and a drop down list will appear with all the different versions of the repository you have access to. from the drop down list select the name of the fork where your file was put (patch-4 in my case).
You should now see all the files (including README and your new file) that exist in your newly created fork.
Click the README file and click the “Edit” button.

In the editor window with the README file, insert the name of your code and a line or two describing it.
Once more click the name of the subfolder where you put your code. Next to the repository with your code (patch-4 here,) click the green button , “Compare & pull request”
Describe your updates and hit “Send pull request”
And you’re done!